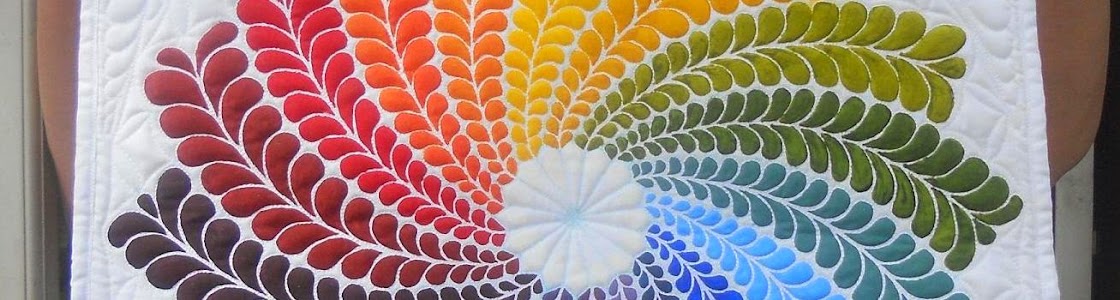
A Photo Tutorial: 6-step, 2-color Gradated Fabric Dyeing.

I tend to get a little long-winded when I'm talking about something I love like quilting or fabric dyeing so I'm going to try to stick to the theme here and make this a PHOTO tutorial. I've never taken any quilting or dyeing classes and I'm not a chemist so I want to give credit where credit is due. Please scroll down to the bottom of this post for links to tutorials I use on gradated dyeing. These links have helped me produce the beautiful results you'll see in the following pictures. I believe these sites are THE BEST available on the web (IMHO.)
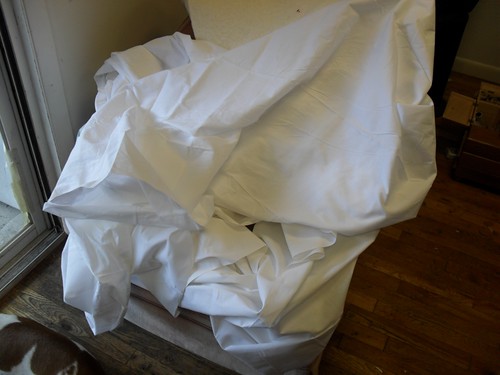
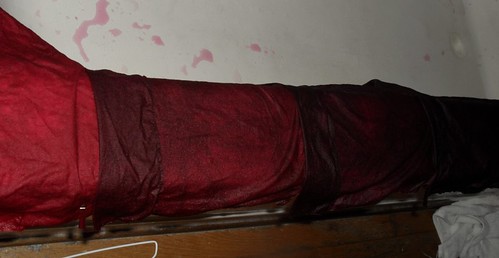
I started with 2 three-yard bolts of white Joann's fabric (not PFD.) You MUST wash your fabric before dyeing. YES it is annoying but ya gotta do it!! Otherwise your fabrics will end up looking like
THIS, no matter how long they are in the dye bath or how concentrated your dyes are. You need to wash your fabric on hot with a little detergent and a couple teaspoons synthrapol if you have it. This is going to make your fabric fray like crazy so what I do is take both 'cut' edges of fabric and sew them together to make one long tube. So here's the whole 6 yard piece after washing and drying.
What I did here is I took the whole piece and cut it in half, then half again, then half again, yadayadayada. I was going for 1/8th yard cuts because
Melissa's handy-dandy chart is for 1/8th yard cuts or 1/4 yard cuts. My cuts ended up a little smaller than an 1/8yard but still turned OK.

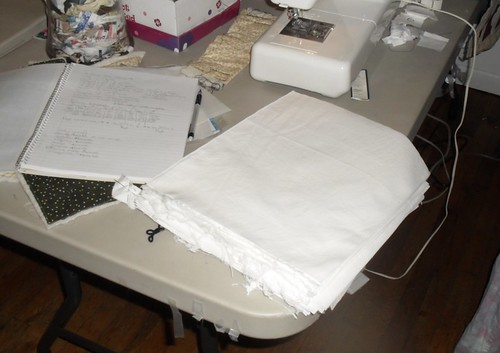
Sew around the edges of your cut pieces about 1/8". This helps with fraying. I used Aurifil 100% cotton and it dyed beautifully so that was an added bonus. ; )
Cut, sewn, and Folded fabric. (A serger would be AWESOME for this ; )
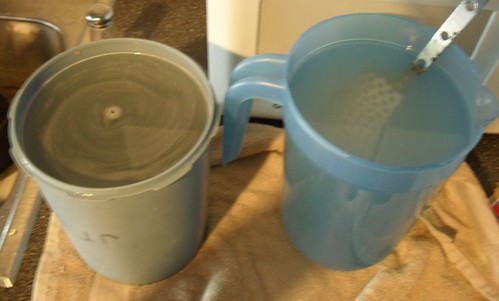
Next we mix up our
soda ash solution One CUP dry soda ash to 1 gallon of water. Pour your soda ash in a bucket and fill it up with hot tap water and stir until dissolved. Do this early so that it's not so hot when you mix it with your dyes. You want your soda ash to be cool to warm - NOT hot.
******Also, this would be a good time to tell you I live in a 3,000 sq ft one bedroom apt with lots of ventilation. I still wear a dust mask that fits to your nose. The soda is bad for ya lungs but the dye is really super bad! Only let kids work with dye solutions NOT powders. Don't open or mix dye powders near or under a fan! I grossly overestimated the amount of soda ash I would need for this project. I only used 3/4th of one gallon of soda ash solution for my 9 sets.

Here I am getting everything laid out - dyes on one side, fabric sets on the other.
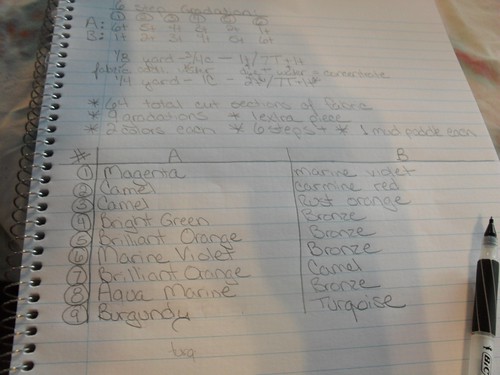
I write everything down and here's one page of my scribbles.
I'm a capricorn and love organization (I'm also REALLY messy!!! LOL)
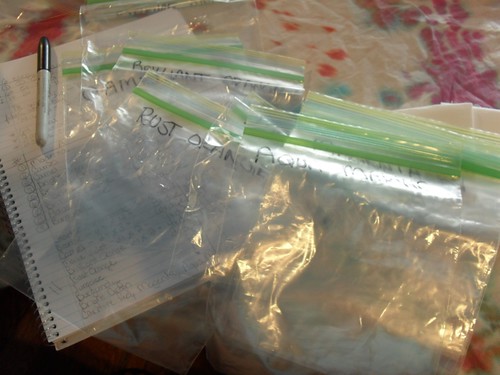
You'll need lots of baggies!! Get the name-brand ones with the double lock/zip for extra protection if you can. I love using baggies, but you could also use cups - the dixie bathroom cups would be perfect.
How many different colors are you using?
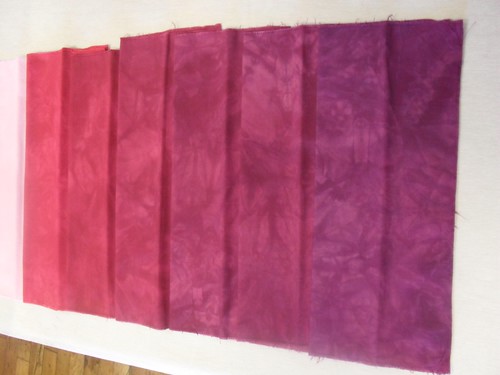
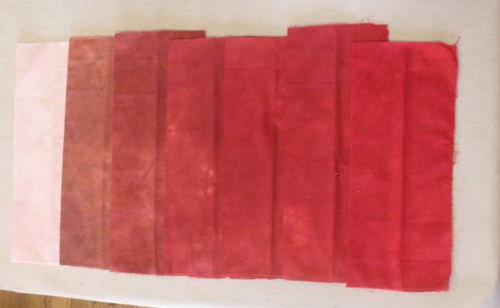
I'm using Carmine Red, Magenta, Aqua Marine, Bright Green, Burgundy, Turqoise and Rust Orange ONCE.
Brilliant Orange and Marine Violet TWICE
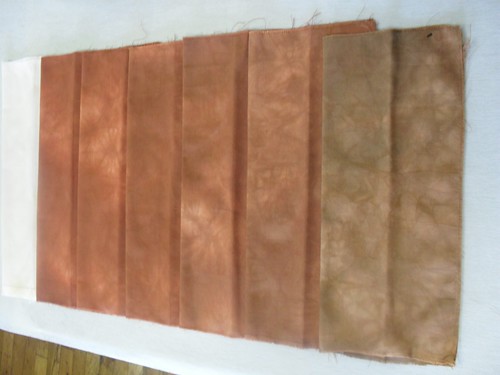
Camel I'm using THREE times.
Bronze FOUR times.
Please refer to
Fabric Dyeing 101 for measurements. Take ONE baggie for each color used, I've got 11 different colors, and write the color on the top of the baggie in permanent marker. These bags are for your dye
concentrate.

I place the labeled plastic bags in ceramic mugs - mix up your dye concentrate in the baggies. How much dye/water you use for your concentrate depends on how much fabric you are dyeing. I measure according to
Fabric Dyeing 101's charts, because it uses everything and leaves no waste. For my purposes it's approximately 1 heaping teaspoon dye powder to 1/2 cup of water at about 100degreesF.

Here I take some old flimsy tuperwear and put my sealed up bags of dye concentrate in them.
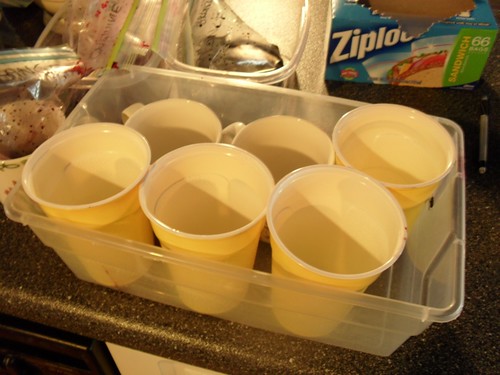
I've taken a dollar store shoe box and put 6 plastic beer cups inside.

According to your scribbles (and the tutorial you're using) label your plastic baggies. These will hold your dye
baths (dye concentrate, soda solution, and fabric) The #3 written on the left side of the baggie is the 3rd set I'm dyeing out of 9. The circled number on the right is the step of the gradation.

Next put your labeled plastic bags in your 6 beer cups.
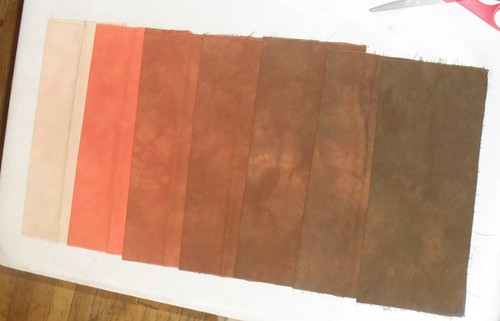
Measure out your dyes according to your chart. In this case cup 1 would hold the most camel, and the number 6 would hold the most rust orange. I also included a 7th fabric in each set and used this as mud. You can read more about this
HERE. I basically took the leftovers of each concentrate and threw it over top of the 7th piece of dry fabric for a light, tie-dye effect.
For my example I started at cup 1 and put 6t Camel, cup2 - 5t camel, cup 3 4t camel etc., etc., Then I FLIP the whole shoe box around and starting at cup 6 I put 6t Rust Orange, cup5 5t Rust Orange, Cup 4 - 4t Rust Orange, etc., etc.,
Make sense?? See Fabric Dyeing 101 for Melissa's amazing detailed charts.

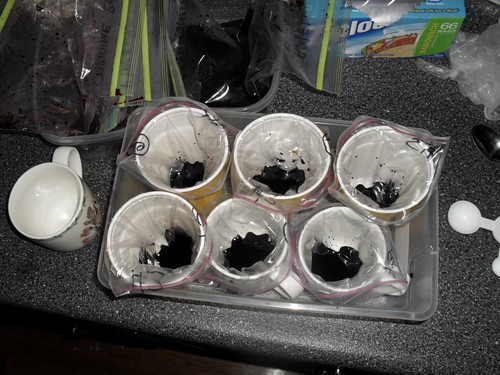
Add your fabric.. Before adding fabric I would recommend writing directly on the fabric with permanment marker so after you wash it you can keep organized. I made things WAY more complicated.. you'll see
Now that the fabric is added, you pull out your baggies from the cups and squish the dye around the fabric until it's good and mixed. BTW add the fabric DRY for a sweet Low water immersion look (kind of like tie-dye) - if you'd like your fabric more even and solid, add your fabric DAMP
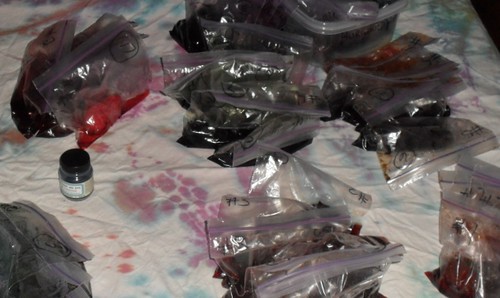
Here's all my sets laying on my tie-dye covered table. ; )
I let the dye seep into the fabric for a little while before adding the soda ash solution. Then take about 1/2c of soda ash solution and pour it into each dye bath. Mix a little and VOILA! Now just hurry up and wait.

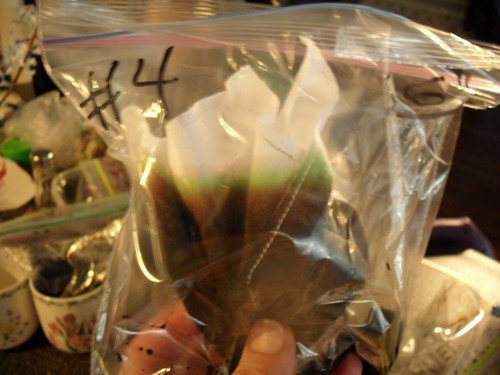
Here's one set with soda solution hanging out. It's been argued how long to let your dye sit for optimum quality, every link I provided below I believe says something different.. LOL For me, it works out because after a whole day of fabric dyeing I usually don't have time to rinse them for at least a week.
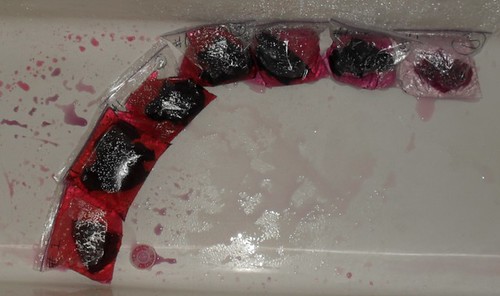
So after letting your dye babies soak in their colors for awhile, it's time to rinse. This is the fun part. I love all the colors the dyes make in the bathtub. I use the bathtub but you can definately use the sink - it would probably be much easier on your back and shoulders.
Over the course of my dyeing I've come up with a system to save water and time. You can try my system, or you could check out the links below for any other tips.
Rinsing under the faucet only will 1) not get much dye out no matter how much you squeeze and 2) really kill your hand and back. I get several large containers, mine are about 1/2gallon. Work with one set at a time.
First I rinse one piece in just cool water, until most of the thick/rich dye comes out. Squeeze the water out and plop it in a container. Fill the container with HOT water (bout half way.) Sit this out of the way and do the same with the next piece of fabric. When you're out of containers or fabric go back to your 1st container. Swish the fabric around in the hot water (swishing is alot easier than squeezing.) Rinse with cool water and repeat again with hot water, letting it sit and seep awhile in the hot water.. this opens up the pores and lets a lot of the extra dye out. Just let it seep awhile, and dont swish until your'e getting ready to change.

I hang my little dye babies up somewhere while I'm finishing up. Sometimes on the rim of the tub. When a whole set is out and rinsed as well as possible, start your washing machine up.

Fill part of the way with HOT water and 2teaspoons synthrapol - you can add a little detergent if ya want.. i usually do just b/c it smells nice. ; )
Rinse and then I hang it up to dry.

You see the little safety pins?? I realized after I started rinsing my fabrics that I did not label my fabric before dyeing. *gasp I improvised... I dug into my 2.5" square scrap bag and pulled out R O Y G B P and BLACK or BROWN. Red represented step 1 and Purple represented step 6, black/brown represented 7(mud).
Anyway, it worked! LOL
After the fabric is hung up I press the fabric then stick it in the washing machine with like-colors. I would NOT recommend mixing turqoise with anything though. It took 3 washes to get the color out. Not enough soda ash? I dunno! I noticed my fingers were turning blue when I was seperating my fabrics from the washing machine.. I took a paper towel and blotted the fabric .. it indeed was still bleeding. So I washed it two more times. All my other colors passed the bleed test though thankfully.
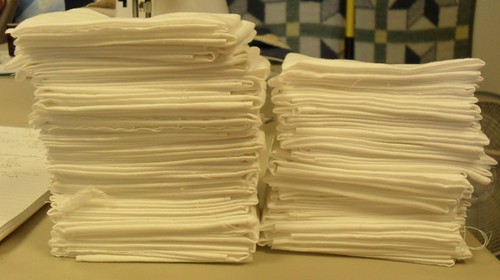
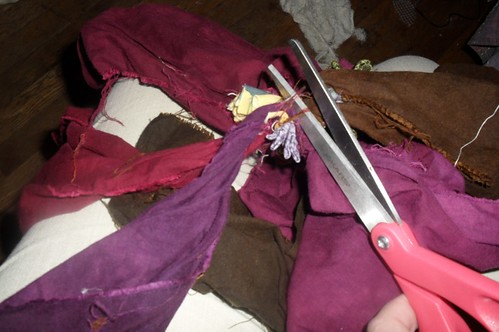
Okay so here's all my fabrics pinned together and piled high before pressing.


See this?/ This is the mess I dealt with because my fabrics were pinned together!! Here I am snipping.. LOL
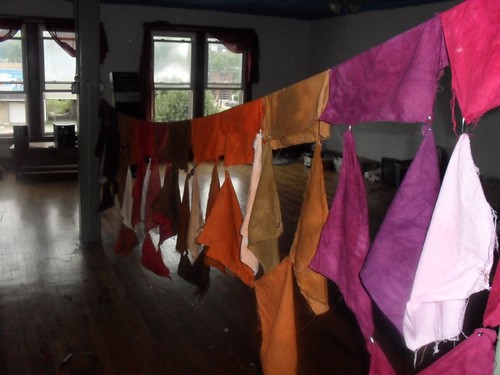
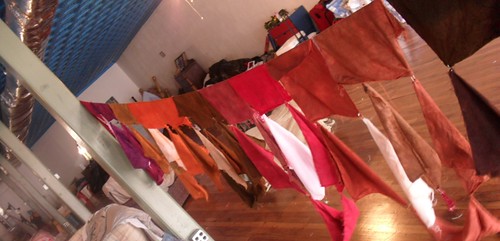
A few dyes hanging on the line to dry.
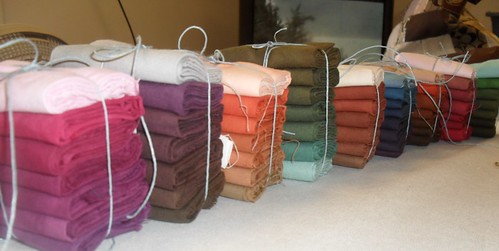
Pressed and bundled!!!


See my last blog post for more finished photos!
Be sure to check out these blogs for more info!
*
Paula Burch - The ultimate guide to everything dyeing
*Three Creative Studios - A fabulous detailed PDF with photos - along with many fabric and surface design tutorials - they also have a whole page of other FREEBIES - definately check them out
*
Fabric Dyeing 101 - Melissa has everthing measured out for you to the teaspoon - I use her wonderful charts in my dyeing - It's perfect for sample dyeing and when you don't have a whole lot of fabric but want to try a lot of colors!